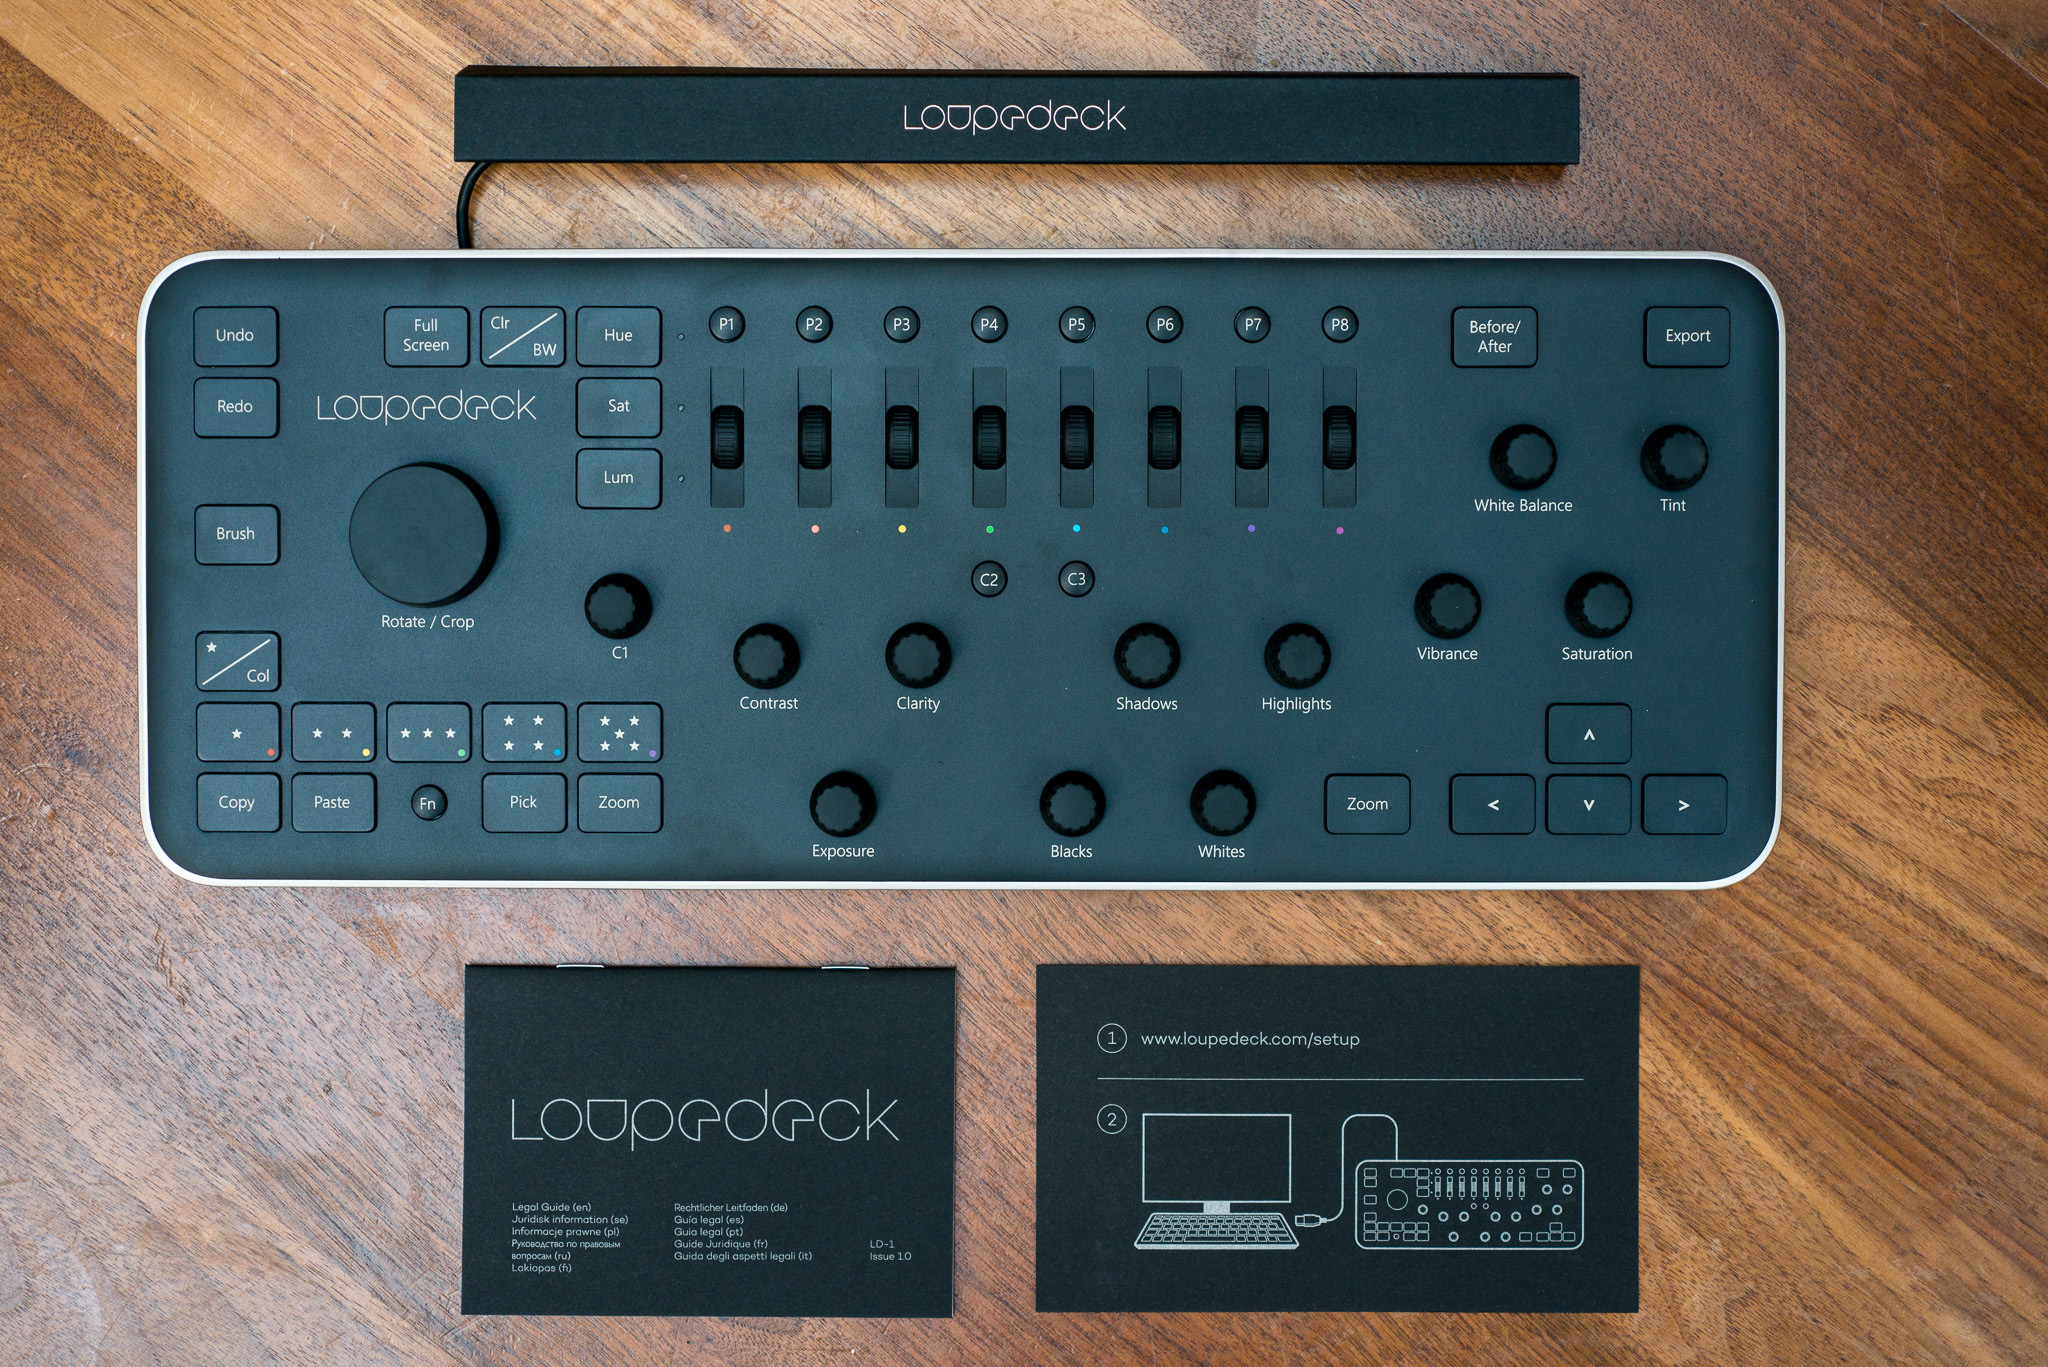
So, you’ve got your hands on the fantastic Loupedeck photo editing console, and you’re ready to take your photo editing game to the next level. Congratulations! This powerful tool is about to become your secret weapon for efficient and enjoyable editing. In this guide, we’ll walk you through mastering the Loupedeck and using it to its fullest potential.
Getting Started with Loupedeck
Before you dive into the nitty-gritty of editing, you’ll want to set up your Loupedeck and install the necessary software. Here’s a quick step-by-step guide:
- Unboxing: Carefully unbox your Loupedeck and make sure all components are present.
- Connect to Your Computer: Plug Loupedeck into an available USB port on your Windows or Mac computer.
- Install the Software: Visit the Loupedeck website and download the required software for your operating system. Follow the installation instructions.
- Calibrate: After installation, open the Loupedeck software and follow the calibration process to ensure the console responds accurately to your touch.
Once your Loupedeck is set up and calibrated, it’s time to explore its fantastic features.
Navigating Loupedeck Controls
Loupedeck is designed with an array of buttons, knobs, and dials to provide tactile control over your editing process. Familiarizing yourself with these controls is key to unlocking its full potential:
- Knobs and Dials: Loupedeck’s knobs and dials allow you to adjust various parameters like exposure, contrast, and color temperature. Experiment with them to see how they affect your images.
- Buttons: The customizable buttons can be programmed to perform specific functions in Adobe Lightroom, saving you time and effort. You can assign functions like exposure adjustments, cropping, or toggling between modules.
- Function Button: Holding down the function button (Fn) while using other controls often activates secondary functions. This doubles the number of possibilities for each button, knob, and dial.
Customizing Your Loupedeck
One of Loupedeck’s strengths is its flexibility in customization. Here’s how you can tailor it to your workflow:
- Loupedeck Software: Open the Loupedeck software on your computer to access the customization options. You can assign specific tasks to buttons, knobs, and dials, making them work precisely how you want them to.
- Profiles: Loupedeck allows you to create multiple profiles for different editing scenarios. For example, you can have one profile for portrait editing and another for landscape photography.
- Toggles: Loupedeck has several toggles, like the Library/Develop toggle and Spot Removal/Graduated Filter toggle. Program these to streamline your workflow and quickly switch between tasks.
Mastering Loupedeck’s Common Editing Tasks
Now, let’s look at how Loupedeck can simplify some common editing tasks:
- Cropping and Rotating: Use the knobs to adjust crop dimensions and rotation angle. This precise control makes cropping and straightening a breeze.
- Copy-Pasting Edits: Customize a button to copy settings from one photo and another to paste them onto another. This feature is incredibly useful for maintaining consistency in a series of photos.
- Fine-Tuning Adjustments: The tactile feedback of Loupedeck’s controls makes it easy to fine-tune sliders for exposure, contrast, and more. You’ll find yourself making subtle adjustments with ease.
- HSL Editing: Dive into Hue, Saturation, and Luminance adjustments with confidence. Loupedeck’s precise knobs make it simple to dial in the perfect colors for your images.
Advanced Techniques
Once you’ve mastered the basics, consider exploring more advanced techniques with Loupedeck:
- Keyboard Shortcuts: Map keyboard shortcuts to Loupedeck buttons for tasks not directly supported by the console. This extends Loupedeck’s functionality even further.
- Dual Monitor Setup: If you work with dual monitors, Loupedeck can be a game-changer. Customize controls for managing both your library and develop modules simultaneously.
- Batch Editing: Create custom profiles to apply the same adjustments to multiple photos in one go, saving you time on repetitive tasks.
Remember, mastering Loupedeck takes practice, so don’t be discouraged if it feels a bit overwhelming at first. With time and experimentation, you’ll develop your own workflow and discover how Loupedeck can enhance your photo editing experience.
In conclusion, mastering the Loupedeck is a photographer’s dream come true, offering precise control, customization, and efficiency. Whether you’re a professional photographer or an enthusiastic hobbyist, Loupedeck will help you unlock your creative potential and make photo editing an enjoyable journey. So, go ahead, dive in, and let Loupedeck transform your editing process into a seamless and delightful experience. Happy editing! 📸✨


