


Welcome back to our month long series for all things styling on wedding days! Last week, we chatted about our 5 biggest tips for improving wedding invitation flat lays. Today, we’ll be walking through a DIY wedding photography details hack for styling invitations and other details on the wedding day. Don’t forget to like and subscribe to our channel to get the full scoop on wedding details coming later this month!
Talking Backdrops
Today, we are talking about backdrops. When we lay down the invitation suite, the shoes, the jewelry, and the florals and natural elements, there’s going to be something in the background of that photo. We normally approach this in two ways.
Styling Choice #1
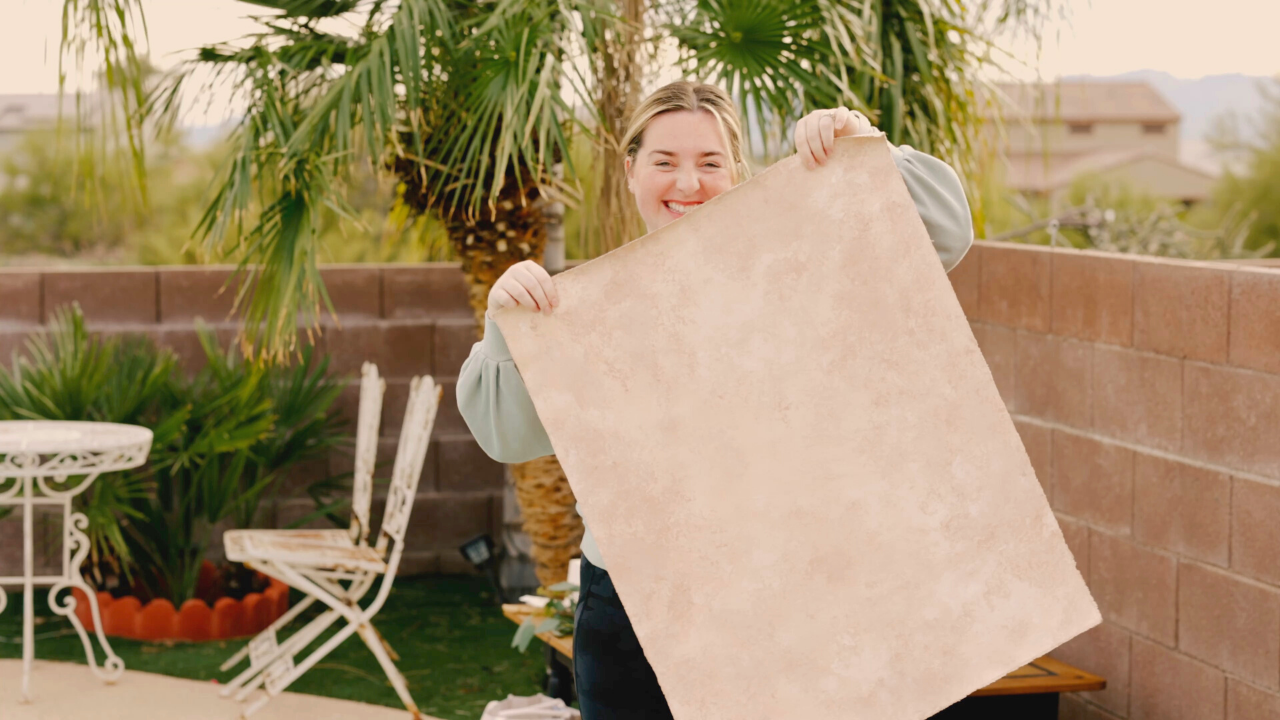
We bring styling mats! Styling mats are so easy and we can find the best light possible in the getting ready space. It can be challenging when there’s a lot going on, full of people for hair and makeup, and there may only be one or two windows. This way, we can find those windows and find that best light possible. Once we find lighting, we can roll out the styling mat, pick out a color that compliments the details well and use that.
For our styling mats, we use Holland Dee Design. We have tried so many styling mats but we love Holland’s mats the most because Holland actually hand paints them! It adds a ton of texture, so much depth, and they’re stunning!
Styling Choice #2
Our second backdrop option is that we find something that is natural to the getting ready space or venue. We love this option when it works, because it ties in with the rest of the day. They might have super cool tile floors in the bathroom or a window ledge that has a deep oak, that we’ll see later on in the venue tables. It will be so cohesive with the rest of the day.
This can be really difficult to achieve because we need light. Light is the priority to make detail photos look clean and cohesive, and without that it can be very challenging.
Our Styling Hack
Those are the two ways we typically use backdrops, but our favorite wedding photography details hack is actually a bridesmaid dress!
What we love about this is it will give us some sort of texture not matter what the fabric is. We can find the best light, lay this out, get the dress flat, and it provides a great canvas for our detail photos. We normally just ask one of the bridesmaids, “Hey, can we borrow your dress? We’ll bring it back in about 30 minutes!”
Something else that’s really handy when we’re talking about cohesiveness throughout the wedding day, is that the bridesmaid dress will be in multiple photos throughout the day. So that means that these colors will be spot on with how the rest of the day is arranged. Typically, our couples wil plan a huge part of their color palette based on their bridesmaid dresses. It will coordinate with the florals, the ceremony backdrops, the reception installs, all of those things so it provides a great DIY.
That is our biggest hack! It’s simple and easy, but so clutch when we forget our styling mats at home or are looking for a change of place. We also might not always have styling mats that coordinate well with the couples details, and this is a great alternative.
Tia Styles On Bridesmaids Dress
Next, I’ll show myself styling on the dress so you can get a feel for it. At the end of the video, we’ll show you the final product on the dress! You can see if you like it, see if it’s something you want to use for a DIY hack on your wedding shoots.
Final Product
So as you can see, these details turned out really awesome. They look like they have a mat behind them!
One thing you want to be careful of, is that the dresses are wrinkle free. If they have wrinkles in them, that will be really challenging in your details photos and might be something in post production you’re feeling really itchy about. It is not worthwhile to try and smooth out those wrinkles.
Pick a different dress or if they have steamers in the getting ready room, ask to steam the dress quickly and that will save you a ton of time and energy.
We hope you love this DIY wedding photography details hack! Join us for the rest of the month, we’ll be going through more styling videos and help you get your details on point!
Next week, we’re going to be showing you a behind the scenes of Tia live, styling the details and going through the full thing. How to do invitations, how to do rings, how to do all of those shots; stay tuned!
Like and subscribe on our Youtube channel to stay up to date on these videos, we’ll see you next week!


")


